Small Sets, Softer Light
A cardboard box can organise a scene without becoming a complicated lighting system. Begin with a paper curve and window light, then add only what the photograph needs.
Build the background, not a cupboard
Choose a clean, dry box comfortably larger than your object. Remove the front flaps and, if needed, the top so you can position the camera freely. Leave enough structure that the box does not collapse when moved. Cut only on a protected work surface, keeping hands clear of the blade path.
Attach a sheet of matte paper near the upper back edge and let it curve gently onto the base. Do not crease the transition. That curve is a sweep: it removes the hard horizon line where a wall meets a floor. Secure the front edge outside the picture so the sheet cannot spring upward beneath the subject.
Start with a non-reflective object such as an unglazed pot or folded cloth. Shiny metal and transparent glass are possible later, but they reveal the room, phone and light sources in ways that make a first lighting test harder to interpret.
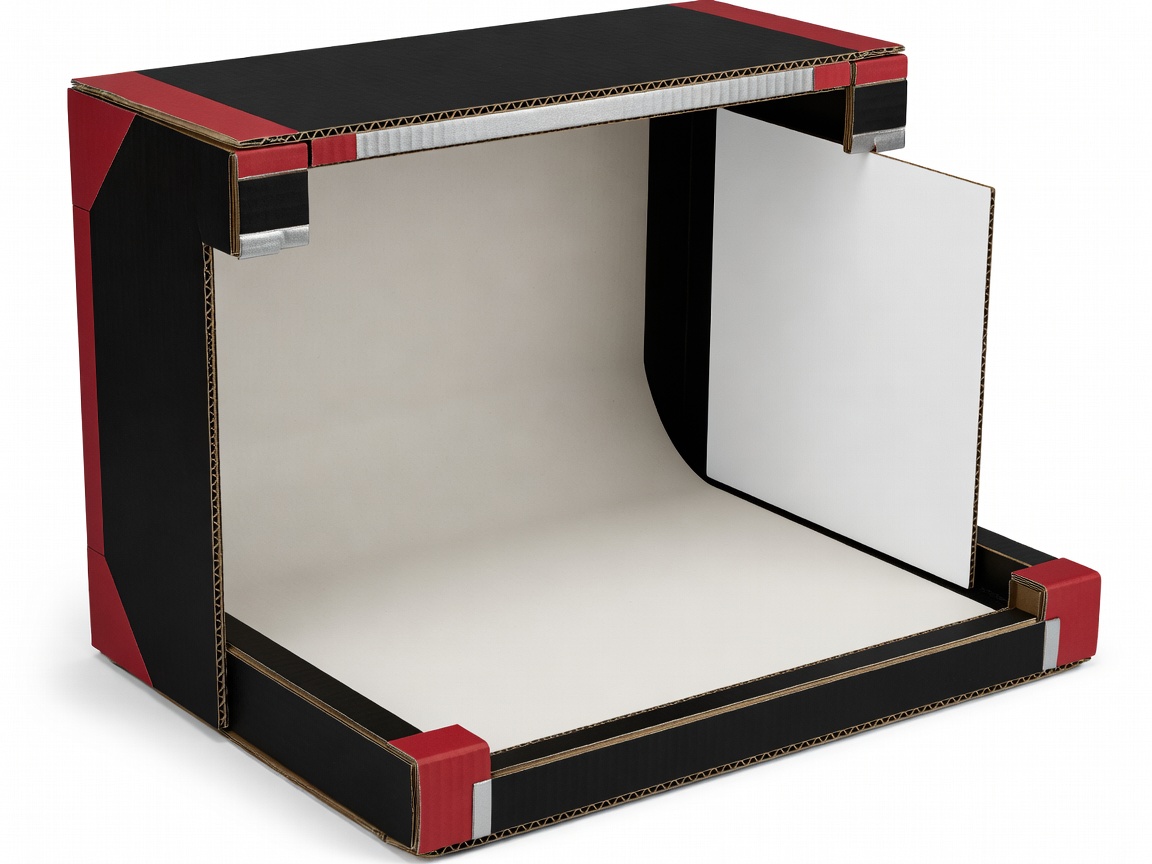
Turn the set toward a window
Place the box beside a window so light enters from one side. Avoid direct sun, which can produce hard shadows, change rapidly and warm the scene. Turn off nearby room lights for the first test; mixing daylight with warm lamps can make different parts of the object appear different colours.
Set white card opposite the window. Move it closer to lighten the shadow side, then further away to bring back shape. A clean sheet of white packaging card works well; foil often produces a smaller, harsher reflection. The useful property is a broad, neutral surface, not a shiny one.
Take a frame before adding any diffusion. If the window already produces soft light, more material may simply reduce brightness. Save this baseline and compare after every change. One adjustment at a time makes it clear whether the bounce card, subject position or camera exposure caused the difference.
Make a separate diffusion panel
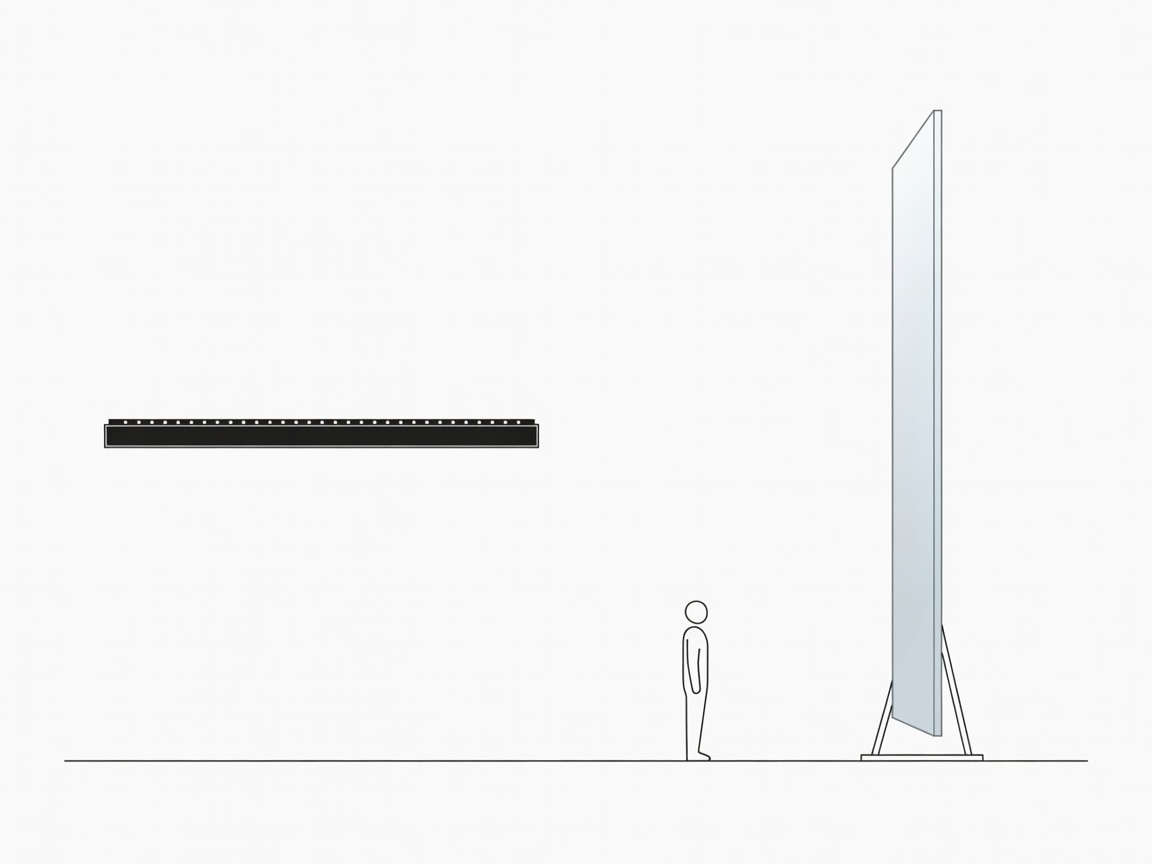
Cut a large opening in a stiff card frame, leaving a broad border. Tape a single sheet of plain translucent paper across it without wrinkles. Add wide feet or secure the frame in a stable holder so it cannot fall toward the light. This panel belongs between a suitable cool-running LED light and the subject, not attached to the fixture.
- Check the light manufacturer’s instructions. Do not use a homemade paper or fabric diffuser with incandescent, halogen, unknown or hot-running fixtures.
- Position the panel well clear of the lamp, housing, power supply and ventilation openings. There is no universal safe distance for every light.
- Aim the lamp through the panel and adjust until the lit area is reasonably even. Keep the panel near enough to the subject to appear broad without entering the frame.
- Monitor the whole setup. If the paper, frame, lamp or phone warms unusually, switch off and stop. Keep a clear, immediate path to the power control.
Diffusion costs light. If the photograph becomes noisy, stabilise the phone and use a stationary subject rather than pushing the lamp against the panel. Never leave this arrangement unattended.
Change angles before adding equipment
For a glossy cup, the visible reflection is often the shape of the light source. Move the panel sideways or rotate the cup slightly to place the highlight where it describes the curve. Adding another lamp can create more distracting reflections rather than solving the first one.
For a dark object, white bounce card can separate the edge from the background. For a pale object, try moving the bounce card away or placing dark card outside the frame to create a controlled darker reflection. Keep these changes subtle: a listing photograph should describe the object rather than conceal wear.
Use the phone’s focus and exposure controls if available, and inspect fine edges at full size. A bright white background may turn grey when the camera protects highlights; a darker background may make the object look overexposed. Adjust while checking the subject, not just the apparent whiteness of the paper.
For consistent colour, avoid mixing light sources and consult your camera application’s white-balance controls. The CIE and International Color Consortium provide formal colour resources, but an improvised studio is not a calibrated colour-proofing system. Do not promise exact colour matching for artwork, textiles or products based on this setup alone.
Finish by photographing the set from outside the shooting position. Record which window you used, where the bounce card stood and whether the room lights were off. Pack the paper flat, remove power and inspect cardboard joints before using the studio again.